
Small wooden house project

MaterialsThe materials used for this project are pieces of wood cut out of a birch plywood that’s 5mm thick. The vertical and horizontal measurements could be adjusted depending on the size of the houses desired. For this project, the measurements are as follows:
Base: 2.5in2 squares
House base: 2in2 squares
Dowels: 5/16 inch squares, 1in long
House roof tops: 0.5in2 squares
House faces: shown below
House roof faces: shown below
Here are the dimensions as modeled with a drawing using a 3D modeling software, SolidWorks:

The wood pieces are connected to each other with a glue gun. For works that require longevity, wood glue is preferrable.The materials required for one house is as shown:

Glue gun
Gluestick
1 base square
1 house base square
Four dowels
3 house faces
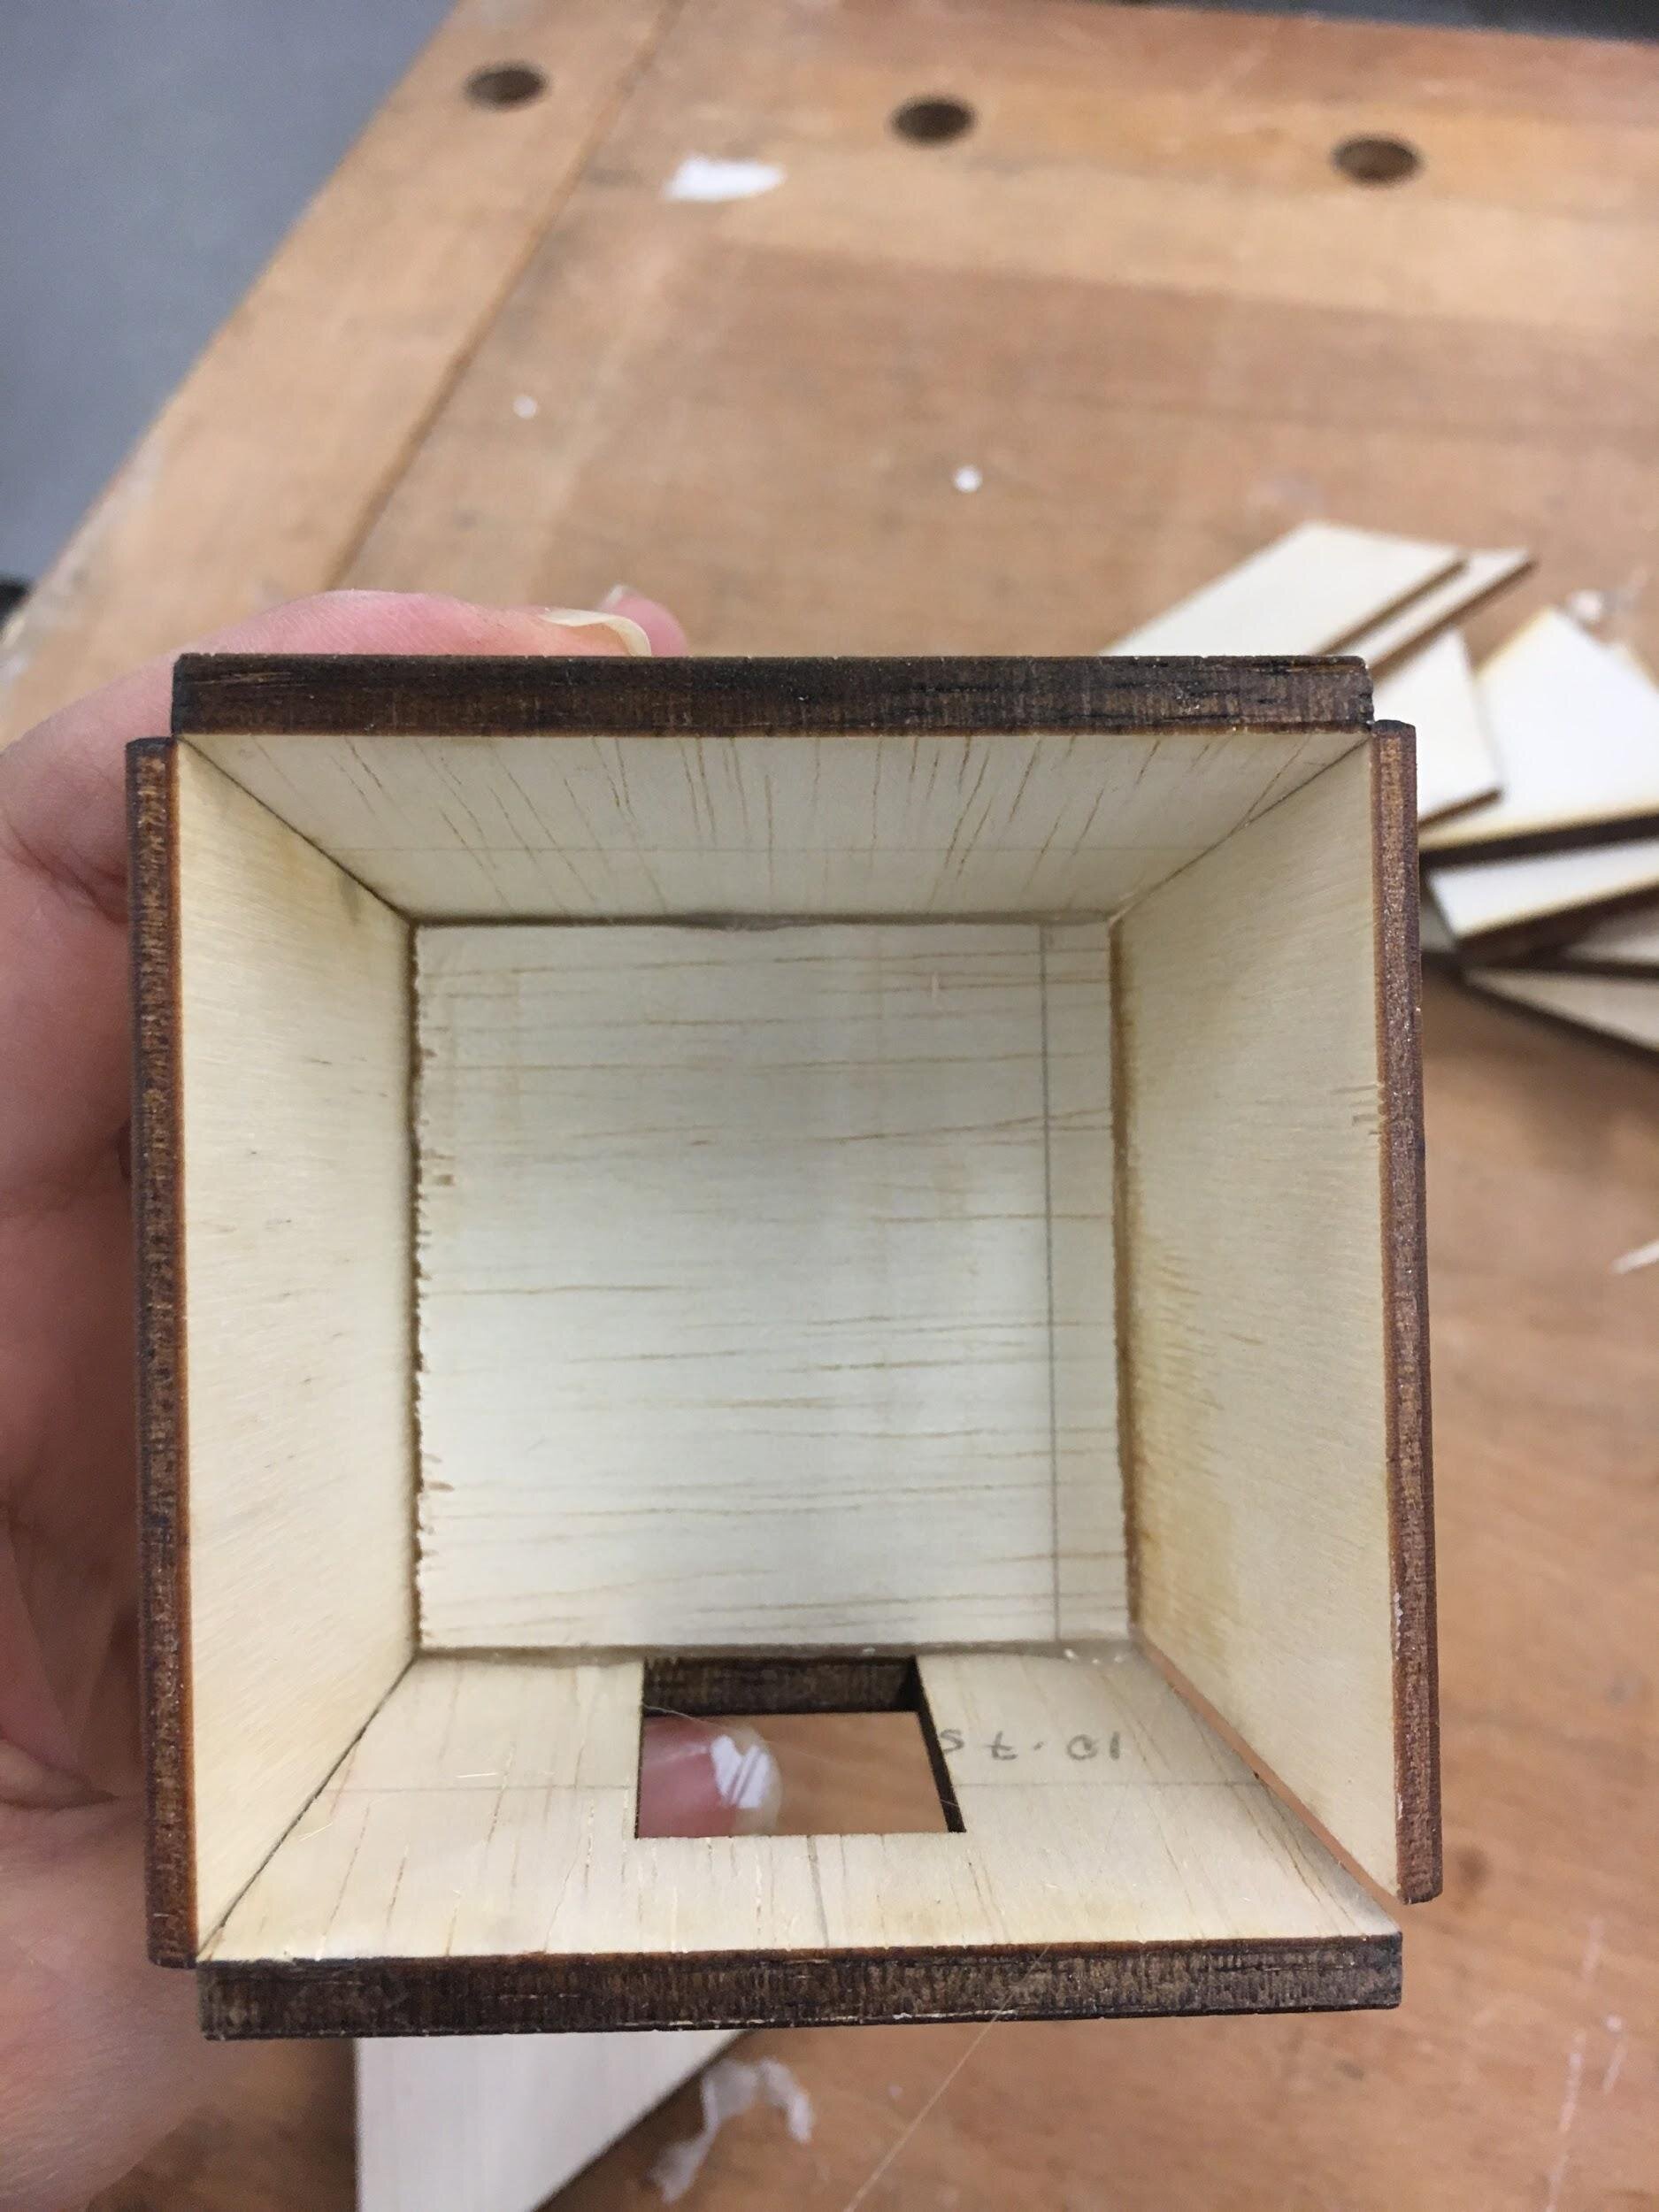
1 house face, with rectangular hole
4 roof faces
1 roof top square
StepsGlue four dowels on a face of the house base, as in table legs (left). This will be flipped over and connected to the bigger square base (on the right).

When connected to each other, the structure will resembled that of a picnic bench, as shown below.

The next pieces (house faces) will be glued to the thin sides of the top square base, as illustrated by the cyan line. The house faces will be glued one by one, saving the face with the door hole last.


Before gluing the inside parts for a stronger connection, make sure that the edges of the faces are at a 90° angle with each other, as shown by the cyan lines, preventing overlapping so that the pieces fit together.

Glue the inside edges, both those attaching the house faces to each other, and those attaching to the base.


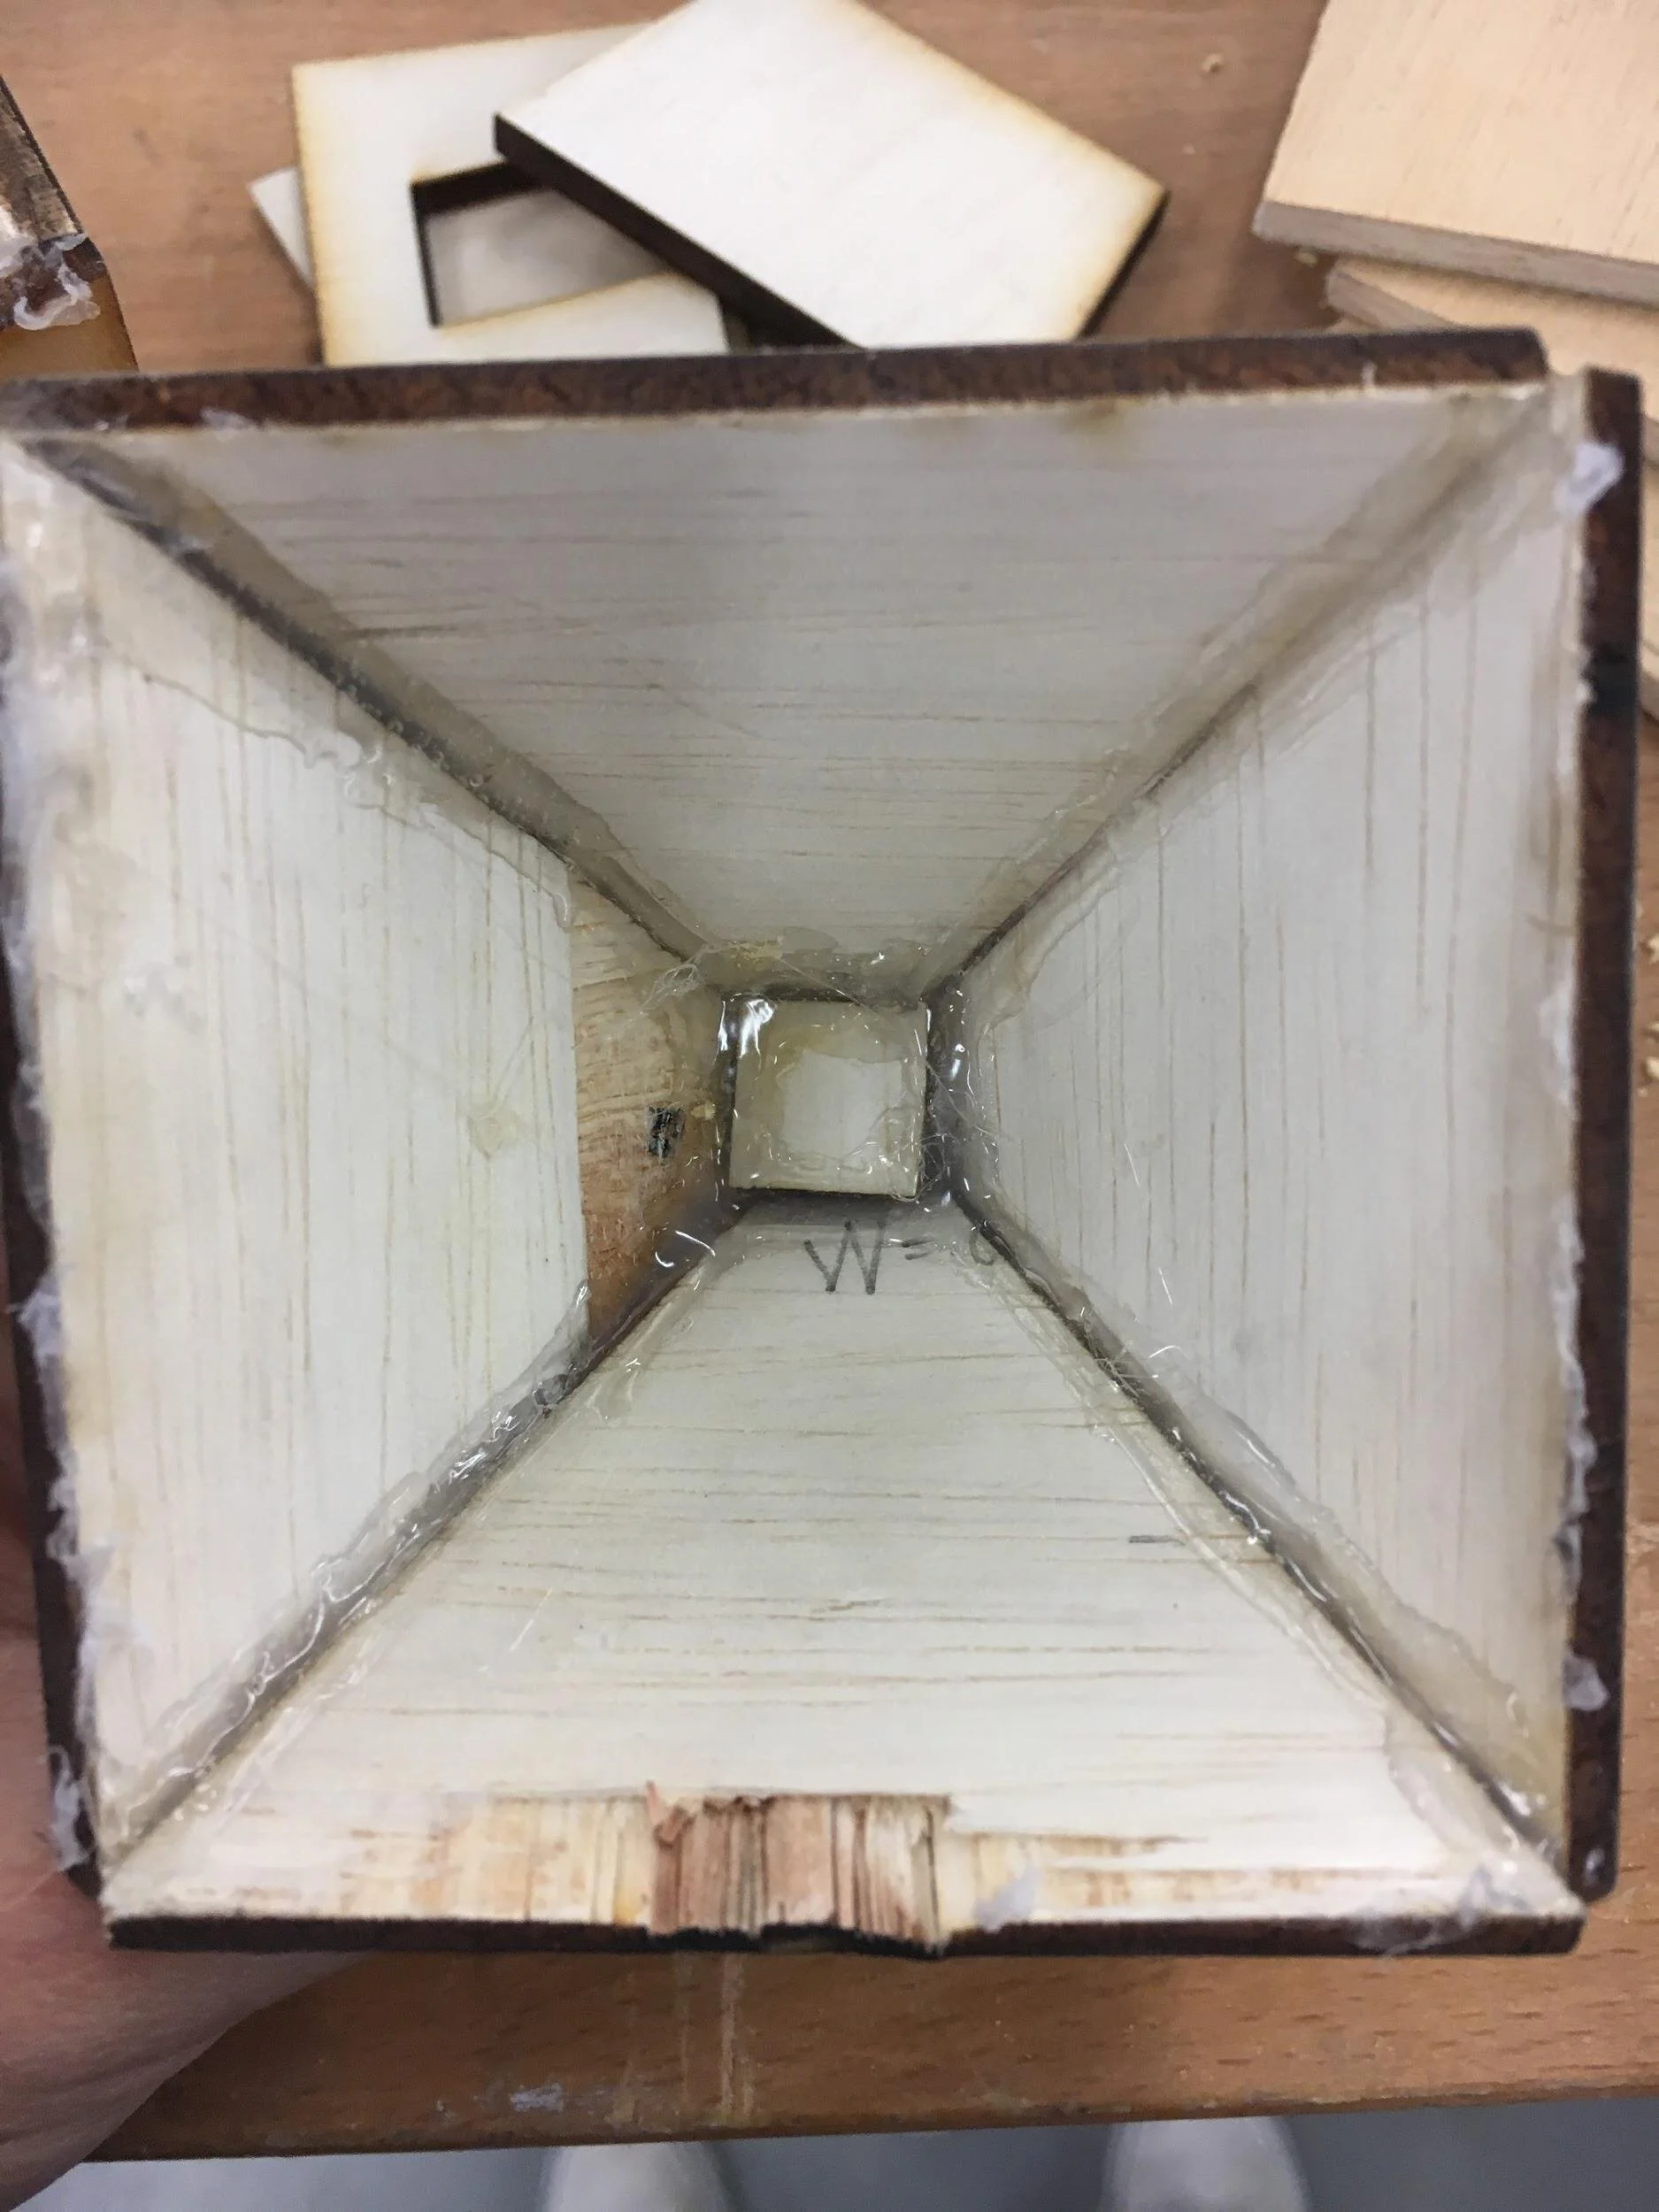
The next step will be putting the roof together. This will be done separate from the main structure, then connected afterwards.Start with putting glue on two sides of a roof face: one on the longer diagonal side, and another that is connected to the roof top.


The piece with the glue is attached to another roof face and the roof top. Make sure that the roof top stays flat and the attachments are made at the edges of the pieces.

As with attaching the house faces, the roof faces have to be attached at the edges and not on the faces. Make sure that the edges are at a 90° angle with each other. It is also good to put the roof together with the damaged pieces facing the inner part.

Attach the roof to the rest of the structure. Try putting the roof in different orientations to make sure that the roof is attached to where it would fit better. This is the finished product:

The gaps between the parts could be filled by using a wood filler, hardening clay, or gluestick, before painting. Pieces could also be sanded for a smoother finish.
Here is the step-by-step procedure in thumbnails of photos: